
Character UV Map
Once I had finished this I was able to open the image file into Photoshop to create the character's skin. Here's how it looks:
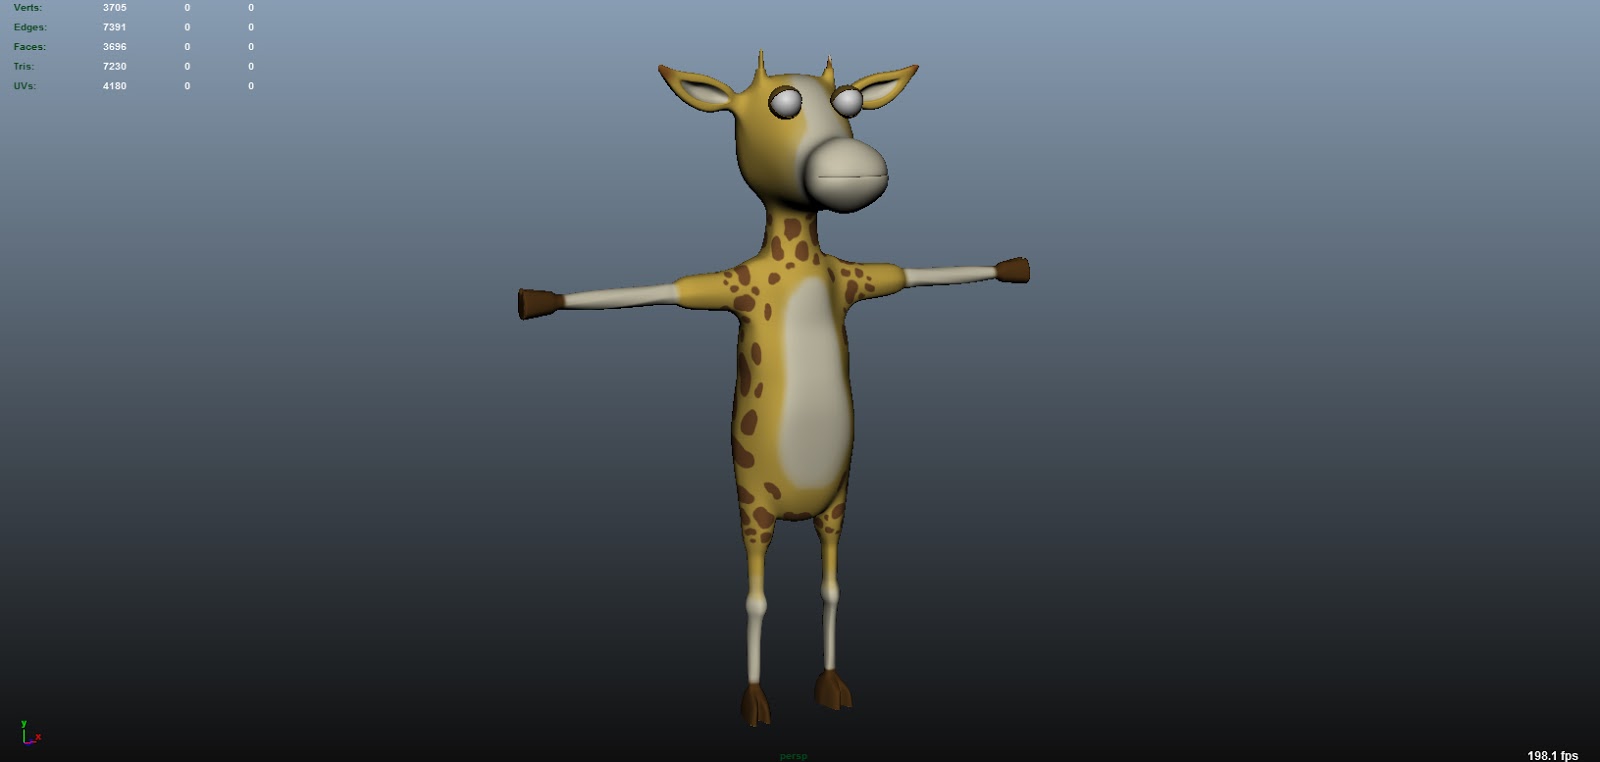

First Attempt
I'm really happy with how this is coming along but there are some things that need tweaking with the skin. For instance there are some spaces that I want to fill with brown spots, and some of them need lining up/re-positioning. I also need top add a ramp shader to the eyes to create a pupil, but I shall do this once I have 'perfected' the texture.
No comments:
Post a Comment